The Ultimate Storage Facility Exterior Painting Checklist: Surfaces, Prep, and Timing for a Smarter Upgrade
You might think exterior painting is just about freshening up colors. But skipping the right prep or timing can cost you weeks in downtime and thousands in repairs. This exterior painting checklist covers every surface—from metal panels to roll-up doors—and shows you when to schedule each step for a smooth upgrade. Request an Estimate today to secure your project window and multi-unit discount.
Key Surfaces for Painting

Let’s dive into the surfaces that need your attention. Knowing what to paint can save time and money while boosting your facility’s curb appeal.
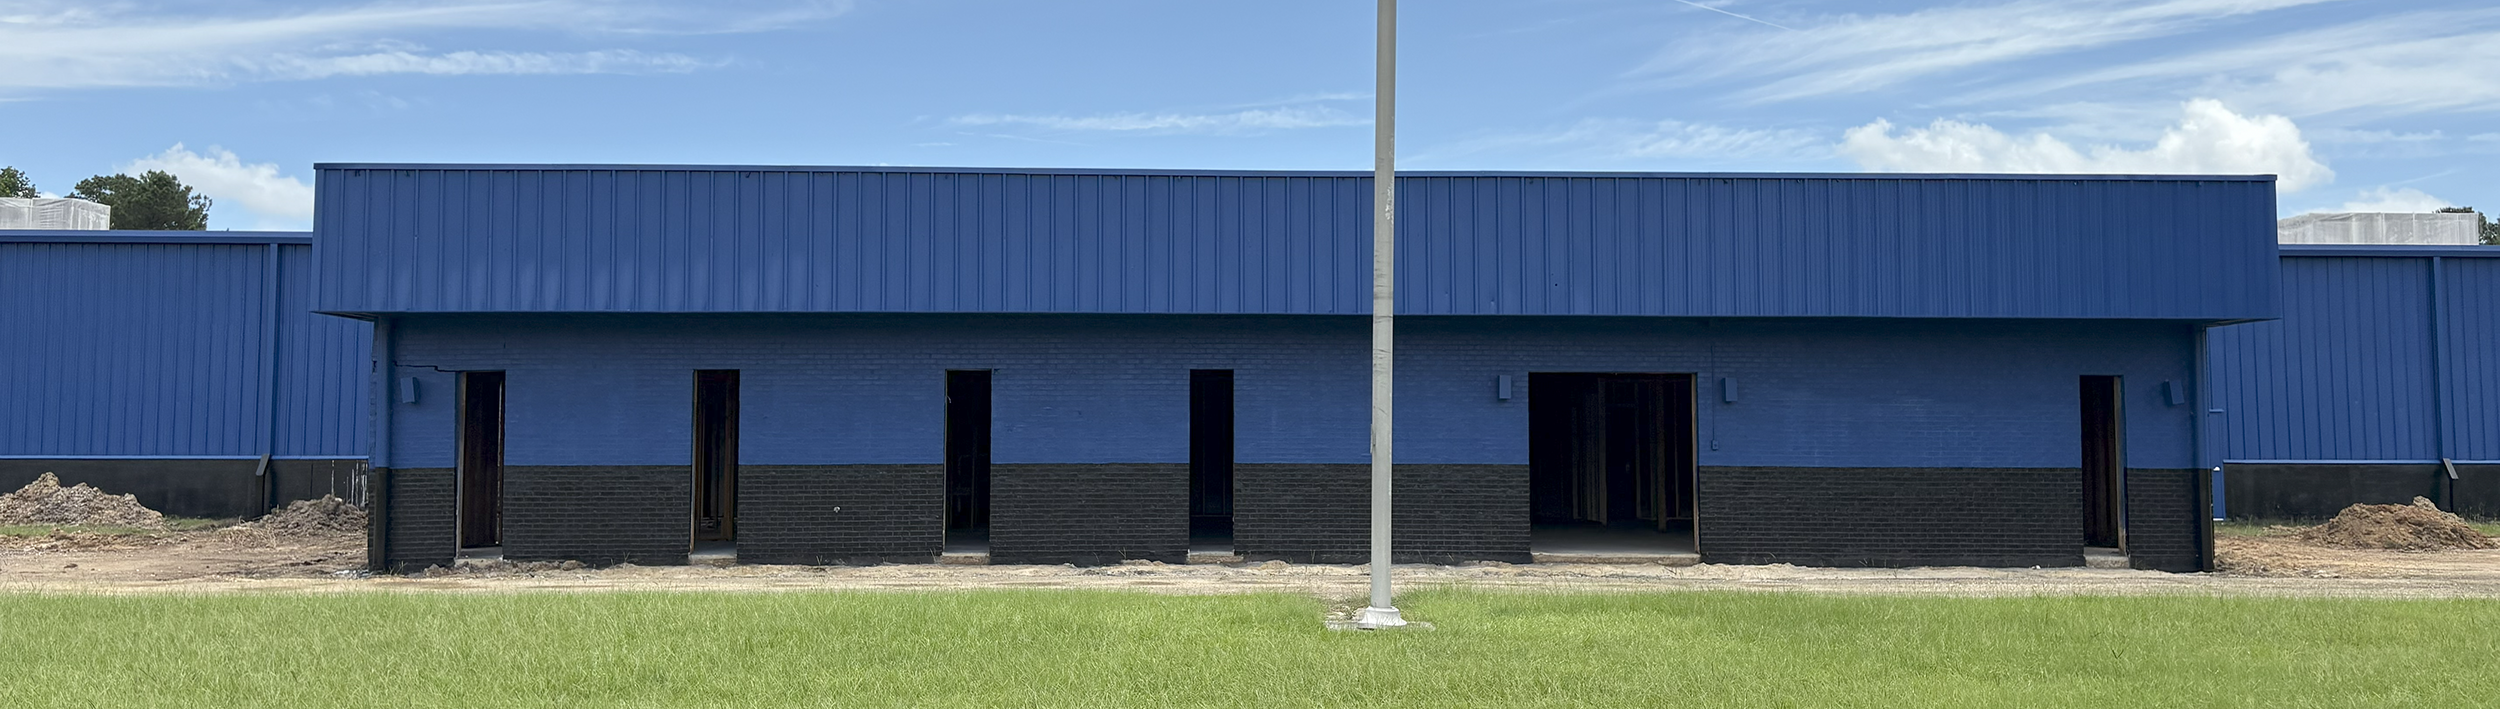
Metal Panel and Roof Coating
Metal panels and roofs can make or break the look of your facility. They need special care to last long and look great. The first step is a thorough cleaning. You want every bit of grime and rust gone before painting. A clean surface grabs the paint better. Next, apply a primer designed for metal. This creates a strong base for the paint. Use a roof coating that suits your climate. The right choice can protect against weather, saving on future repairs. Think about elastomeric coating: it’s flexible and seals cracks effectively. If you want a finish that lasts, don’t skip the primer.
Stucco and CMU Block Coating
Stucco and CMU blocks add texture and character to your facility. These surfaces need special attention to avoid cracks and fading. Start by filling any cracks in the stucco. For CMU blocks, ensure the surface is smooth and clean. Use a high-quality primer to seal porous surfaces. This is crucial: a good primer can make the paint last longer. When choosing paint, opt for one that handles moisture well. This helps in preventing wear and tear. Regular maintenance can keep these surfaces looking fresh for years. With the right approach, your facility can stand out beautifully.
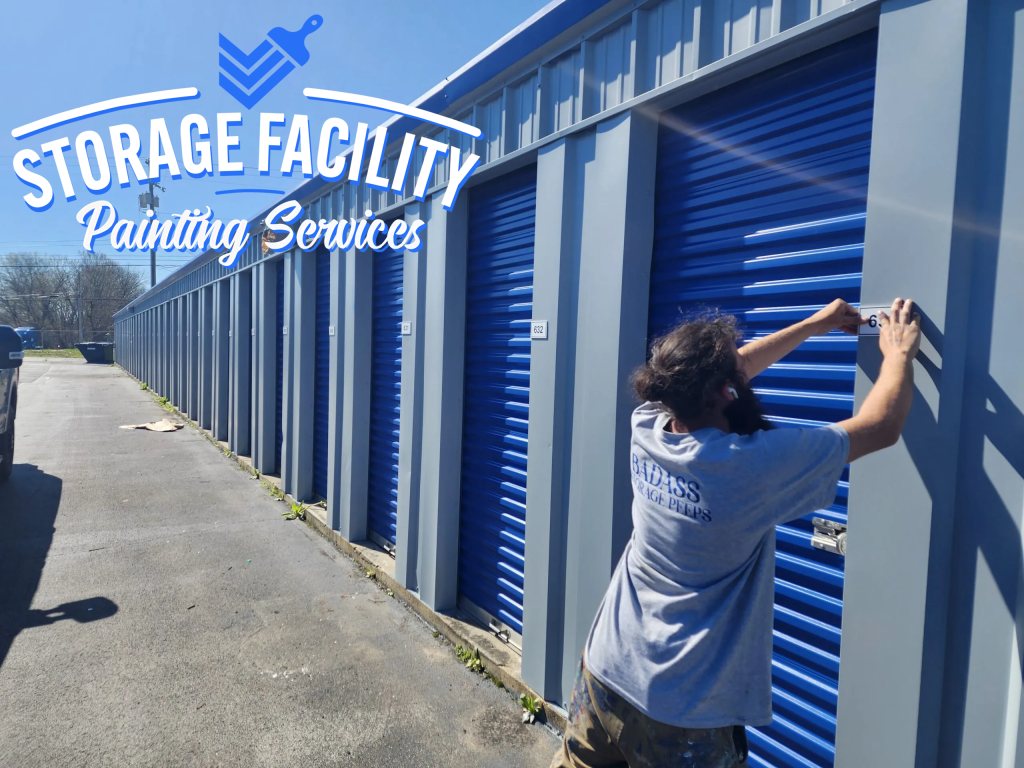
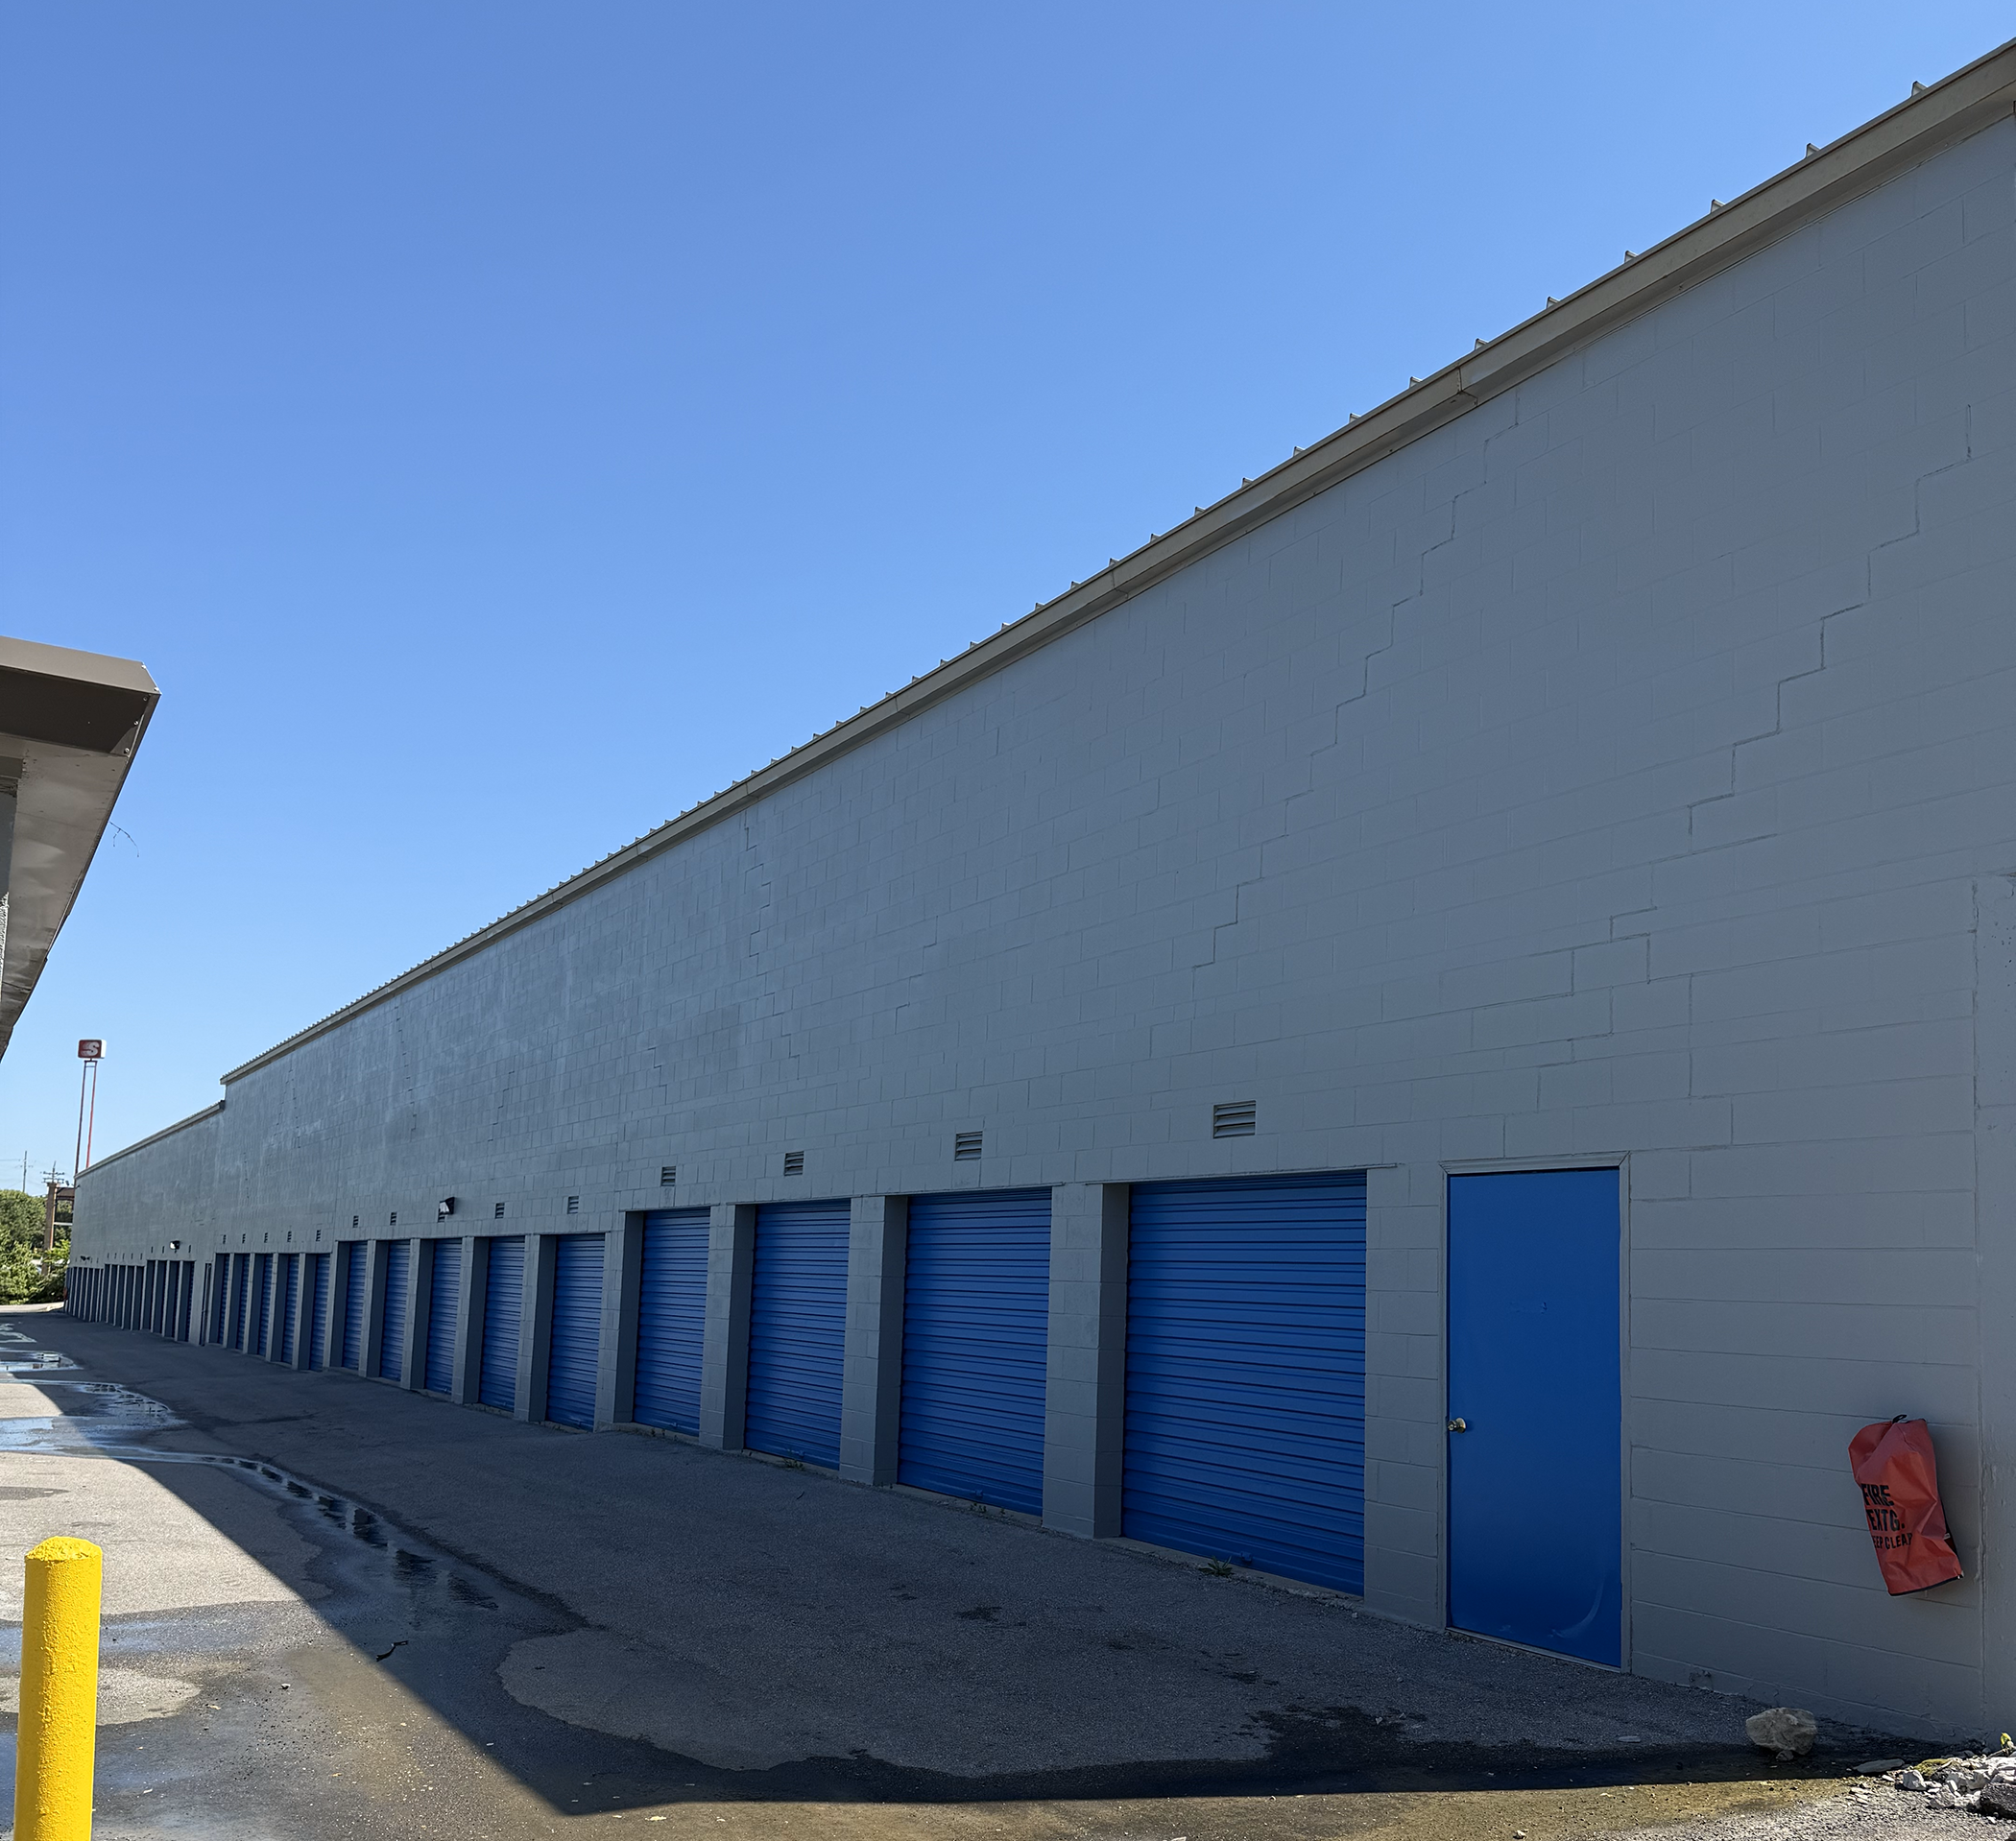
Roll-up Door and Bollard Painting
Roll-up doors and bollards are often overlooked, yet they play a big role in facility appearance. Ensuring they’re well-painted can add a layer of professionalism. Start with cleaning the surfaces, removing all dirt and grease. Use a sturdy, weather-resistant paint that can handle frequent use. This is especially important for roll-up doors. Don’t forget to re-label any doors with clear placards for an organized look. For bollards, use bright colors that stand out for safety. Giving these elements a fresh coat can greatly enhance the overall look of your facility.
Preparation for a Flawless Finish
Getting the prep right is crucial. It sets the stage for a finish that lasts and stands up to the elements.
Essential Surface Prep Steps
Surface prep is your first, crucial step. Without it, even the best paint won’t stick. Begin with a solid cleaning. Remove dirt and grime that can block paint from sticking. Use the right tools for the job: brushes, scrapers, and sanders. Identify any areas needing repair and fix them before moving on. Proper prep is like laying a foundation: it supports everything else. Once the surface is clean, it’s ready for the next steps. Clean surfaces lead to a flawless finish, and who doesn’t want that?
Rust Treatment and Industrial Primer
Rust is a challenge but can be managed with the right approach. First, spot any rust on your surfaces. Use a wire brush to get rid of it. Apply a rust converter. This stops further rusting and prepares the surface for primer. Next up, apply an industrial primer. This ensures the paint sticks well and looks better. Remember, the primer is not just a step; it’s a safeguard. It seals and protects, making your paint job last longer. A well-primed surface is a strong start.
Powerwashing and Cleaning Techniques
A thorough cleaning sets the stage for a successful paint job. Powerwashing is key: it blasts away dirt, mold, and old paint. Be sure to cover delicate areas to avoid damage. Use a cleaning solution suited for your facility’s surfaces. Regular cleaning keeps paint looking fresh and wards off damage. For more detailed guidance, you can check this exterior preparation checklist. Clean surfaces ensure the new paint looks its best and lasts longer.
Timing and Scheduling Insights
Timing is everything. Knowing when to start can save you headaches and keep your facility running smoothly.
Optimal Project Timeline
Scheduling right can make a big difference in your painting project. Start by looking at your facility’s schedule. Choose a time with the least foot traffic. A well-planned timeline reduces disruptions and keeps operations smooth. Factor in holidays and peak seasons. For detailed insights on timing, explore this step-by-step guide. The best timeline keeps your project on track and hassle-free.
Minimizing Downtime for Operations
No one likes downtime, especially in busy facilities. Plan your painting in phases to keep operations running. Focus on one area at a time, keeping the rest open for business. Coordinate with your team to manage shifts and workloads. This careful planning minimizes disruptions and keeps everything moving. A strategic approach ensures your facility stays operational and efficient.
Planning for Weather and Seasons
Weather can make or break your painting project. Choosing the right season is crucial. Spring and fall offer mild temperatures and less rain. Avoid the rainy season to prevent delays and damage. Check long-term forecasts and plan accordingly. Weather planning helps avoid setbacks and ensures a smooth process. A great paint job relies on good timing.
By following these insights, you’re well on your way to a successful exterior painting project. Remember, preparation and timing are key to a flawless finish. Keep these tips in mind as you move forward with your facility upgrade.