Storage Facility Exterior Painting Guide: The Right Repaint Plan for Metal, Stucco, Concrete, Doors, and Roofs
Most storage facilities don’t get the attention they deserve until problems show up. Rust, cracks, and fading paint don’t just hurt curb appeal—they threaten your building’s lifespan. This guide walks you through the right repaint plan for metal, stucco, concrete, doors, and roofs so your facility stays protected and looks sharp. Keep reading to learn the smart steps that save time and money on your next storage facility painting project. For more details on paint options, visit this guide.
Preparing Surfaces for Painting
Before you start painting, it’s crucial to prepare surfaces properly. Prepping ensures the paint adheres well and lasts longer, protecting your facility from the elements.
Powerwashing and Cleaning Techniques
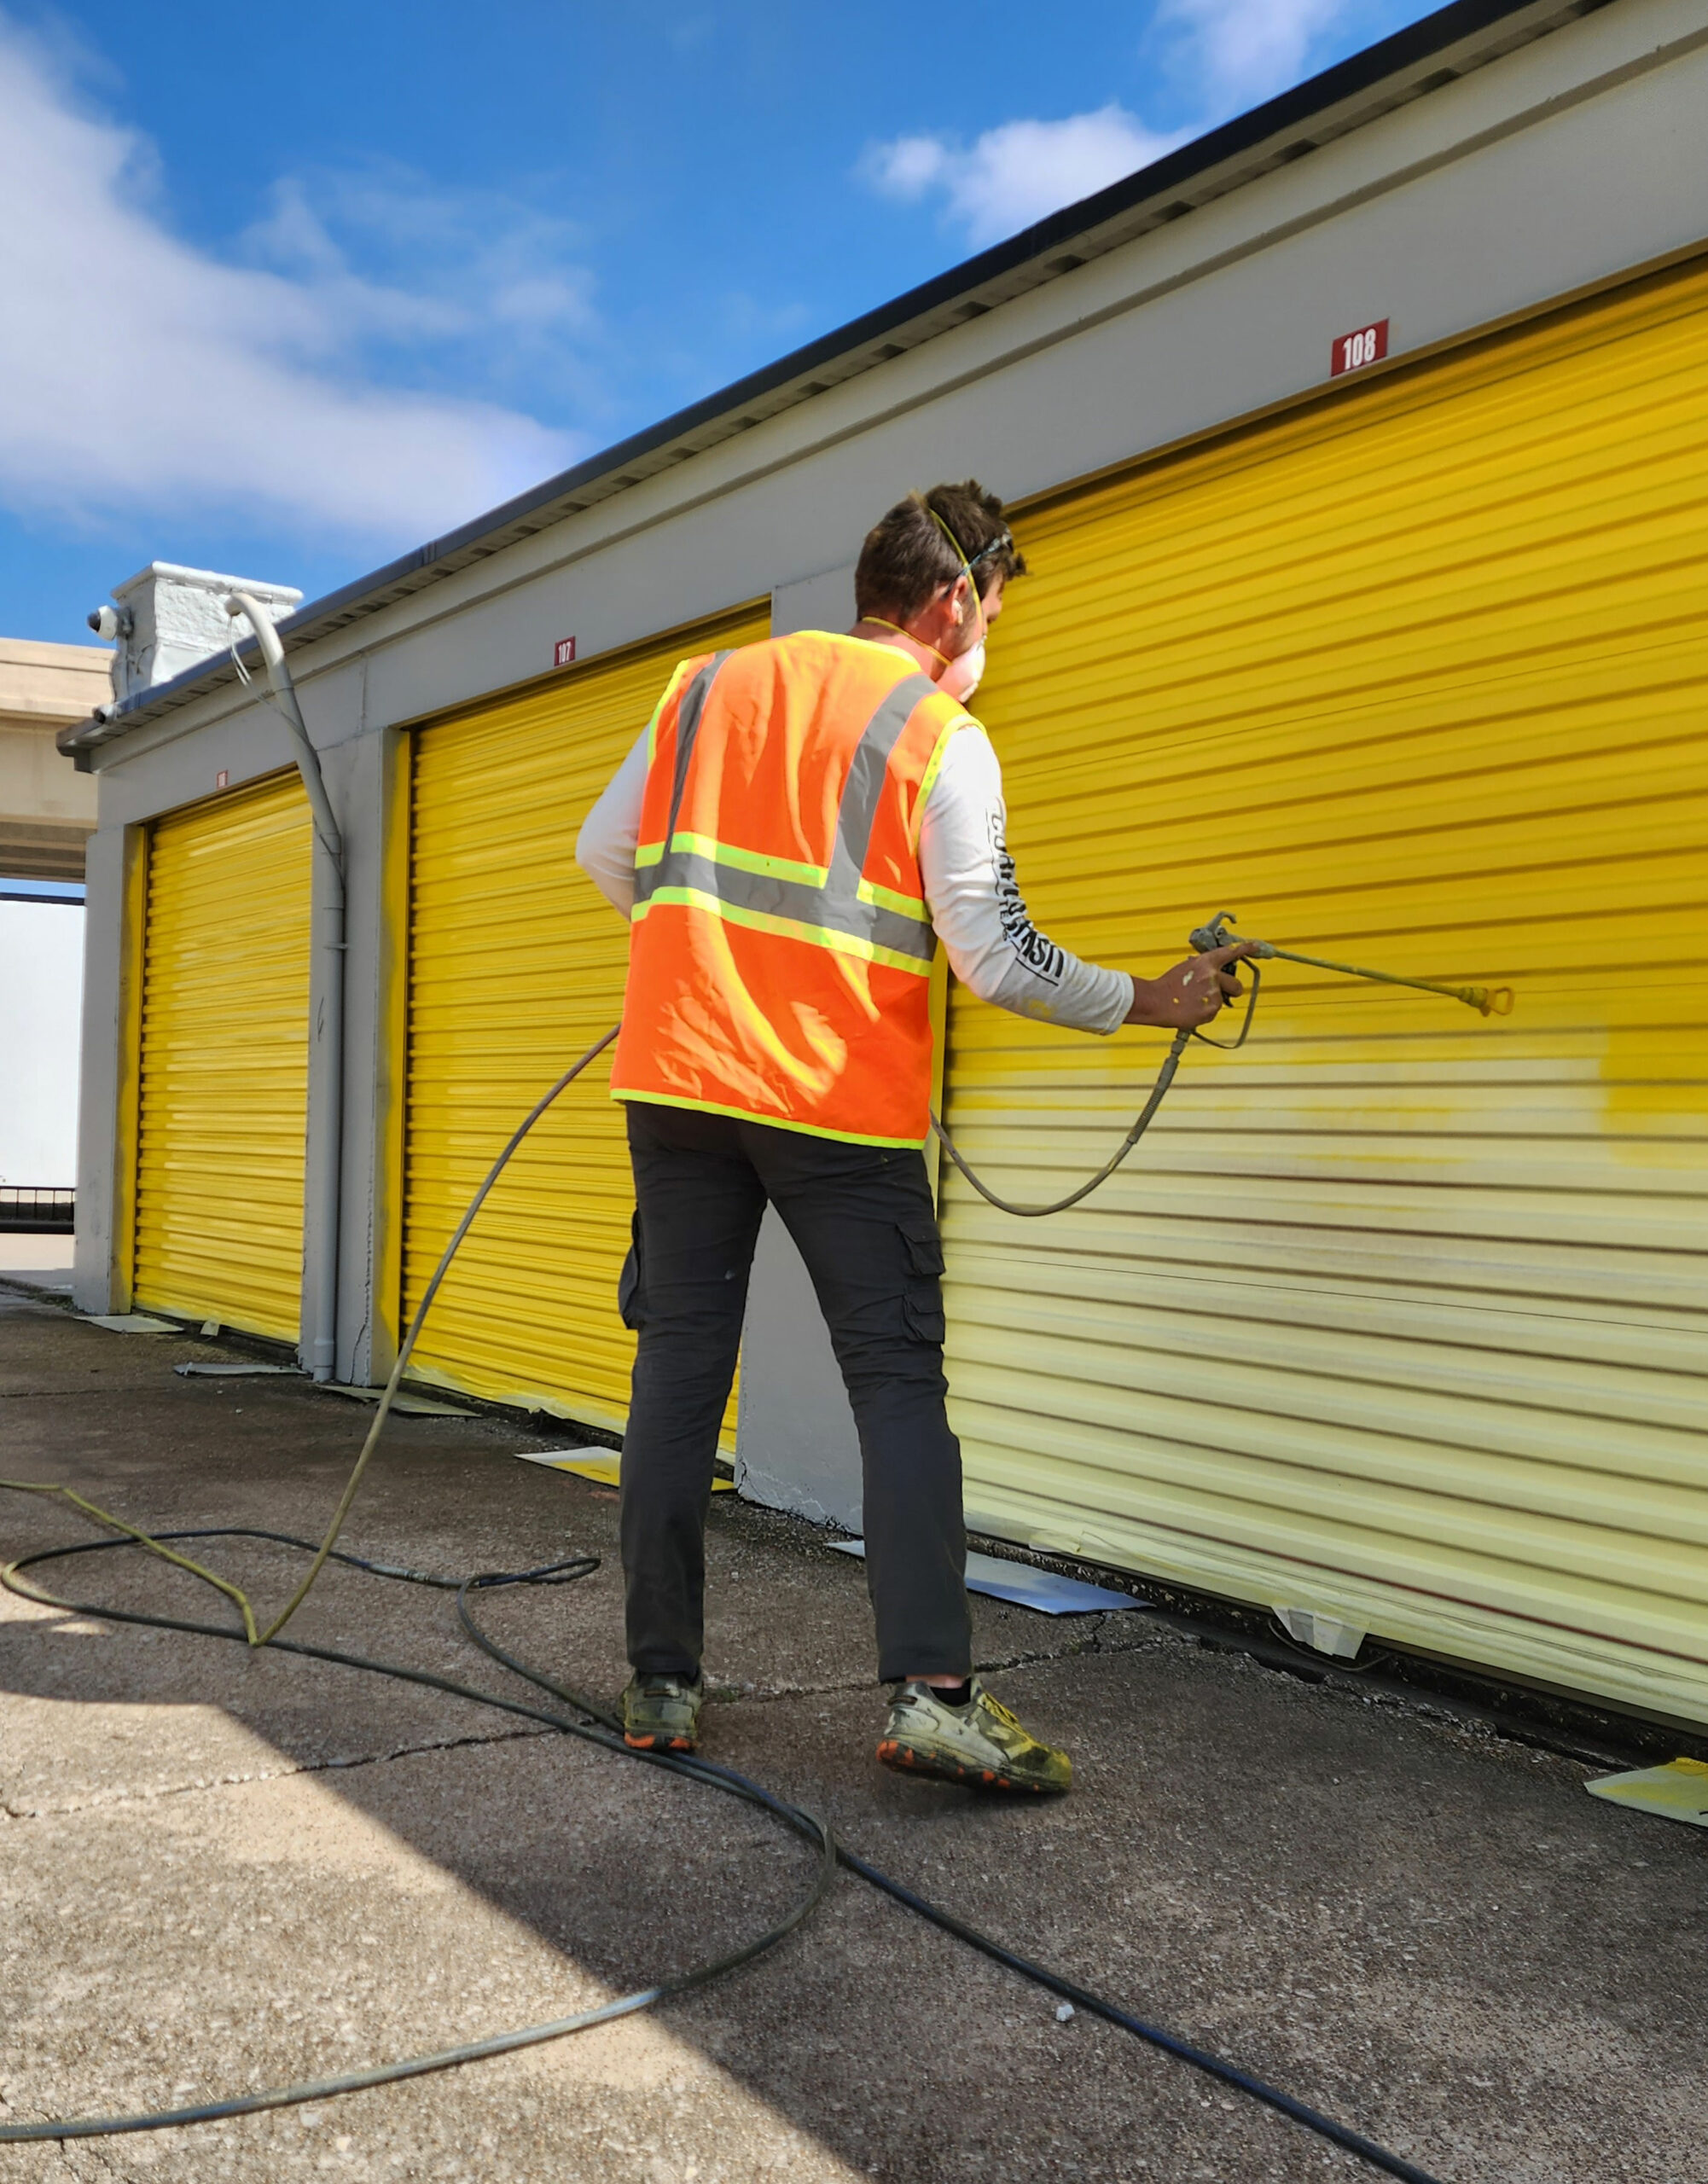
Washing surfaces removes dirt and mold, ensuring a clean canvas for painting. Powerwashing is a must for metal and concrete surfaces. Use a pressure washer at about 2,500 PSI for metal and a bit lower for stucco. This helps remove stubborn stains and grime. Remember, a clean surface means better paint adhesion.
For areas like doors and nooks, you might need to scrub by hand. Use a mild detergent mixed with water for these spots. Rinse thoroughly and let the surfaces dry before moving on. This step might seem small, but it makes a big difference in the final outcome of your painting project.
Rust Treatment and Remediation
Rust is a common enemy for metal surfaces. It can spread if not handled right. First, use a wire brush or grinder to remove loose rust. For stubborn areas, a rust converter can be applied. This product chemically changes rust into a paintable surface.
After treating the rust, clean the area again. Any leftover rust could lead to future problems. Priming is the next critical step. Use a rust-inhibiting primer to shield the metal. This adds an extra layer of protection, keeping rust at bay.
Crack Repair and Caulking
Cracks in stucco and concrete need your attention. Ignoring them could lead to water damage. Start by cleaning the cracks with a brush, removing loose debris. For wider cracks, a concrete patch can fill in the gaps. Smaller cracks might need a flexible sealant.
Once filled, smooth the surface with a putty knife. Let it dry completely. This might take a day, so plan accordingly. Properly sealed cracks prevent moisture from seeping in, protecting your building from potential damage.
Choosing the Right Coatings
Selecting the right paint and coatings is crucial for long-lasting protection. Different surfaces need different solutions, so let’s dive into what works best.
Primers and Elastomeric Paint
Primers are your first line of defense. Metal surfaces need a rust-inhibiting primer, while stucco benefits from a masonry primer. Priming ensures the topcoat adheres well, extending the lifespan of your paint job.
Elastomeric paint is an excellent choice for stucco and concrete. It’s flexible and bridges small cracks, providing a waterproof seal. This type of paint expands and contracts with the building, preventing future cracking. For best results, apply two coats, allowing the first to dry completely before the second.
Industrial Topcoat Systems
After priming, it’s time for the topcoat. Industrial topcoats offer durability and weather resistance. For metal surfaces, a high-performance acrylic topcoat is ideal. It provides UV protection and resists fading.
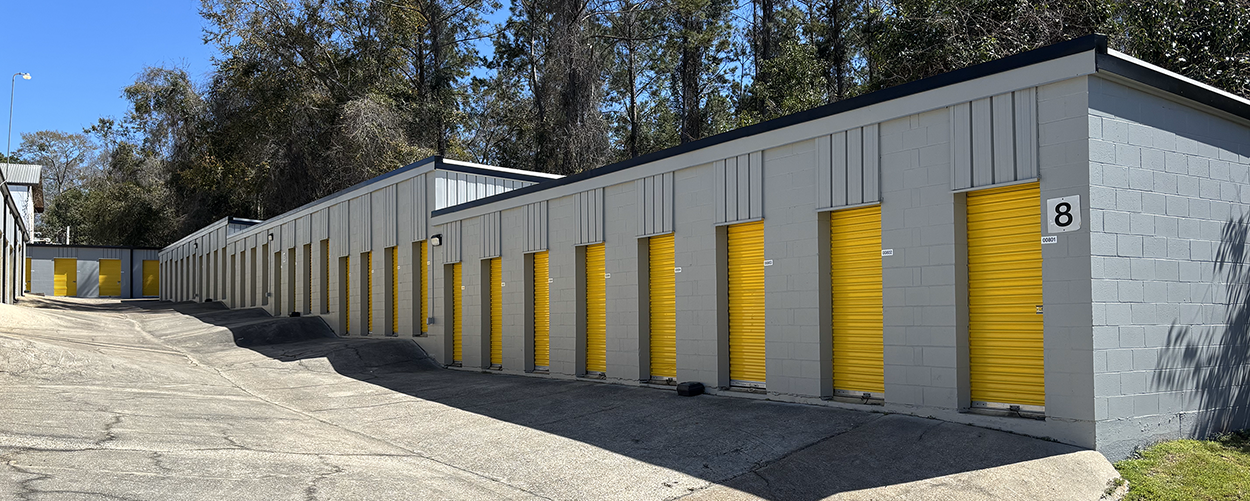
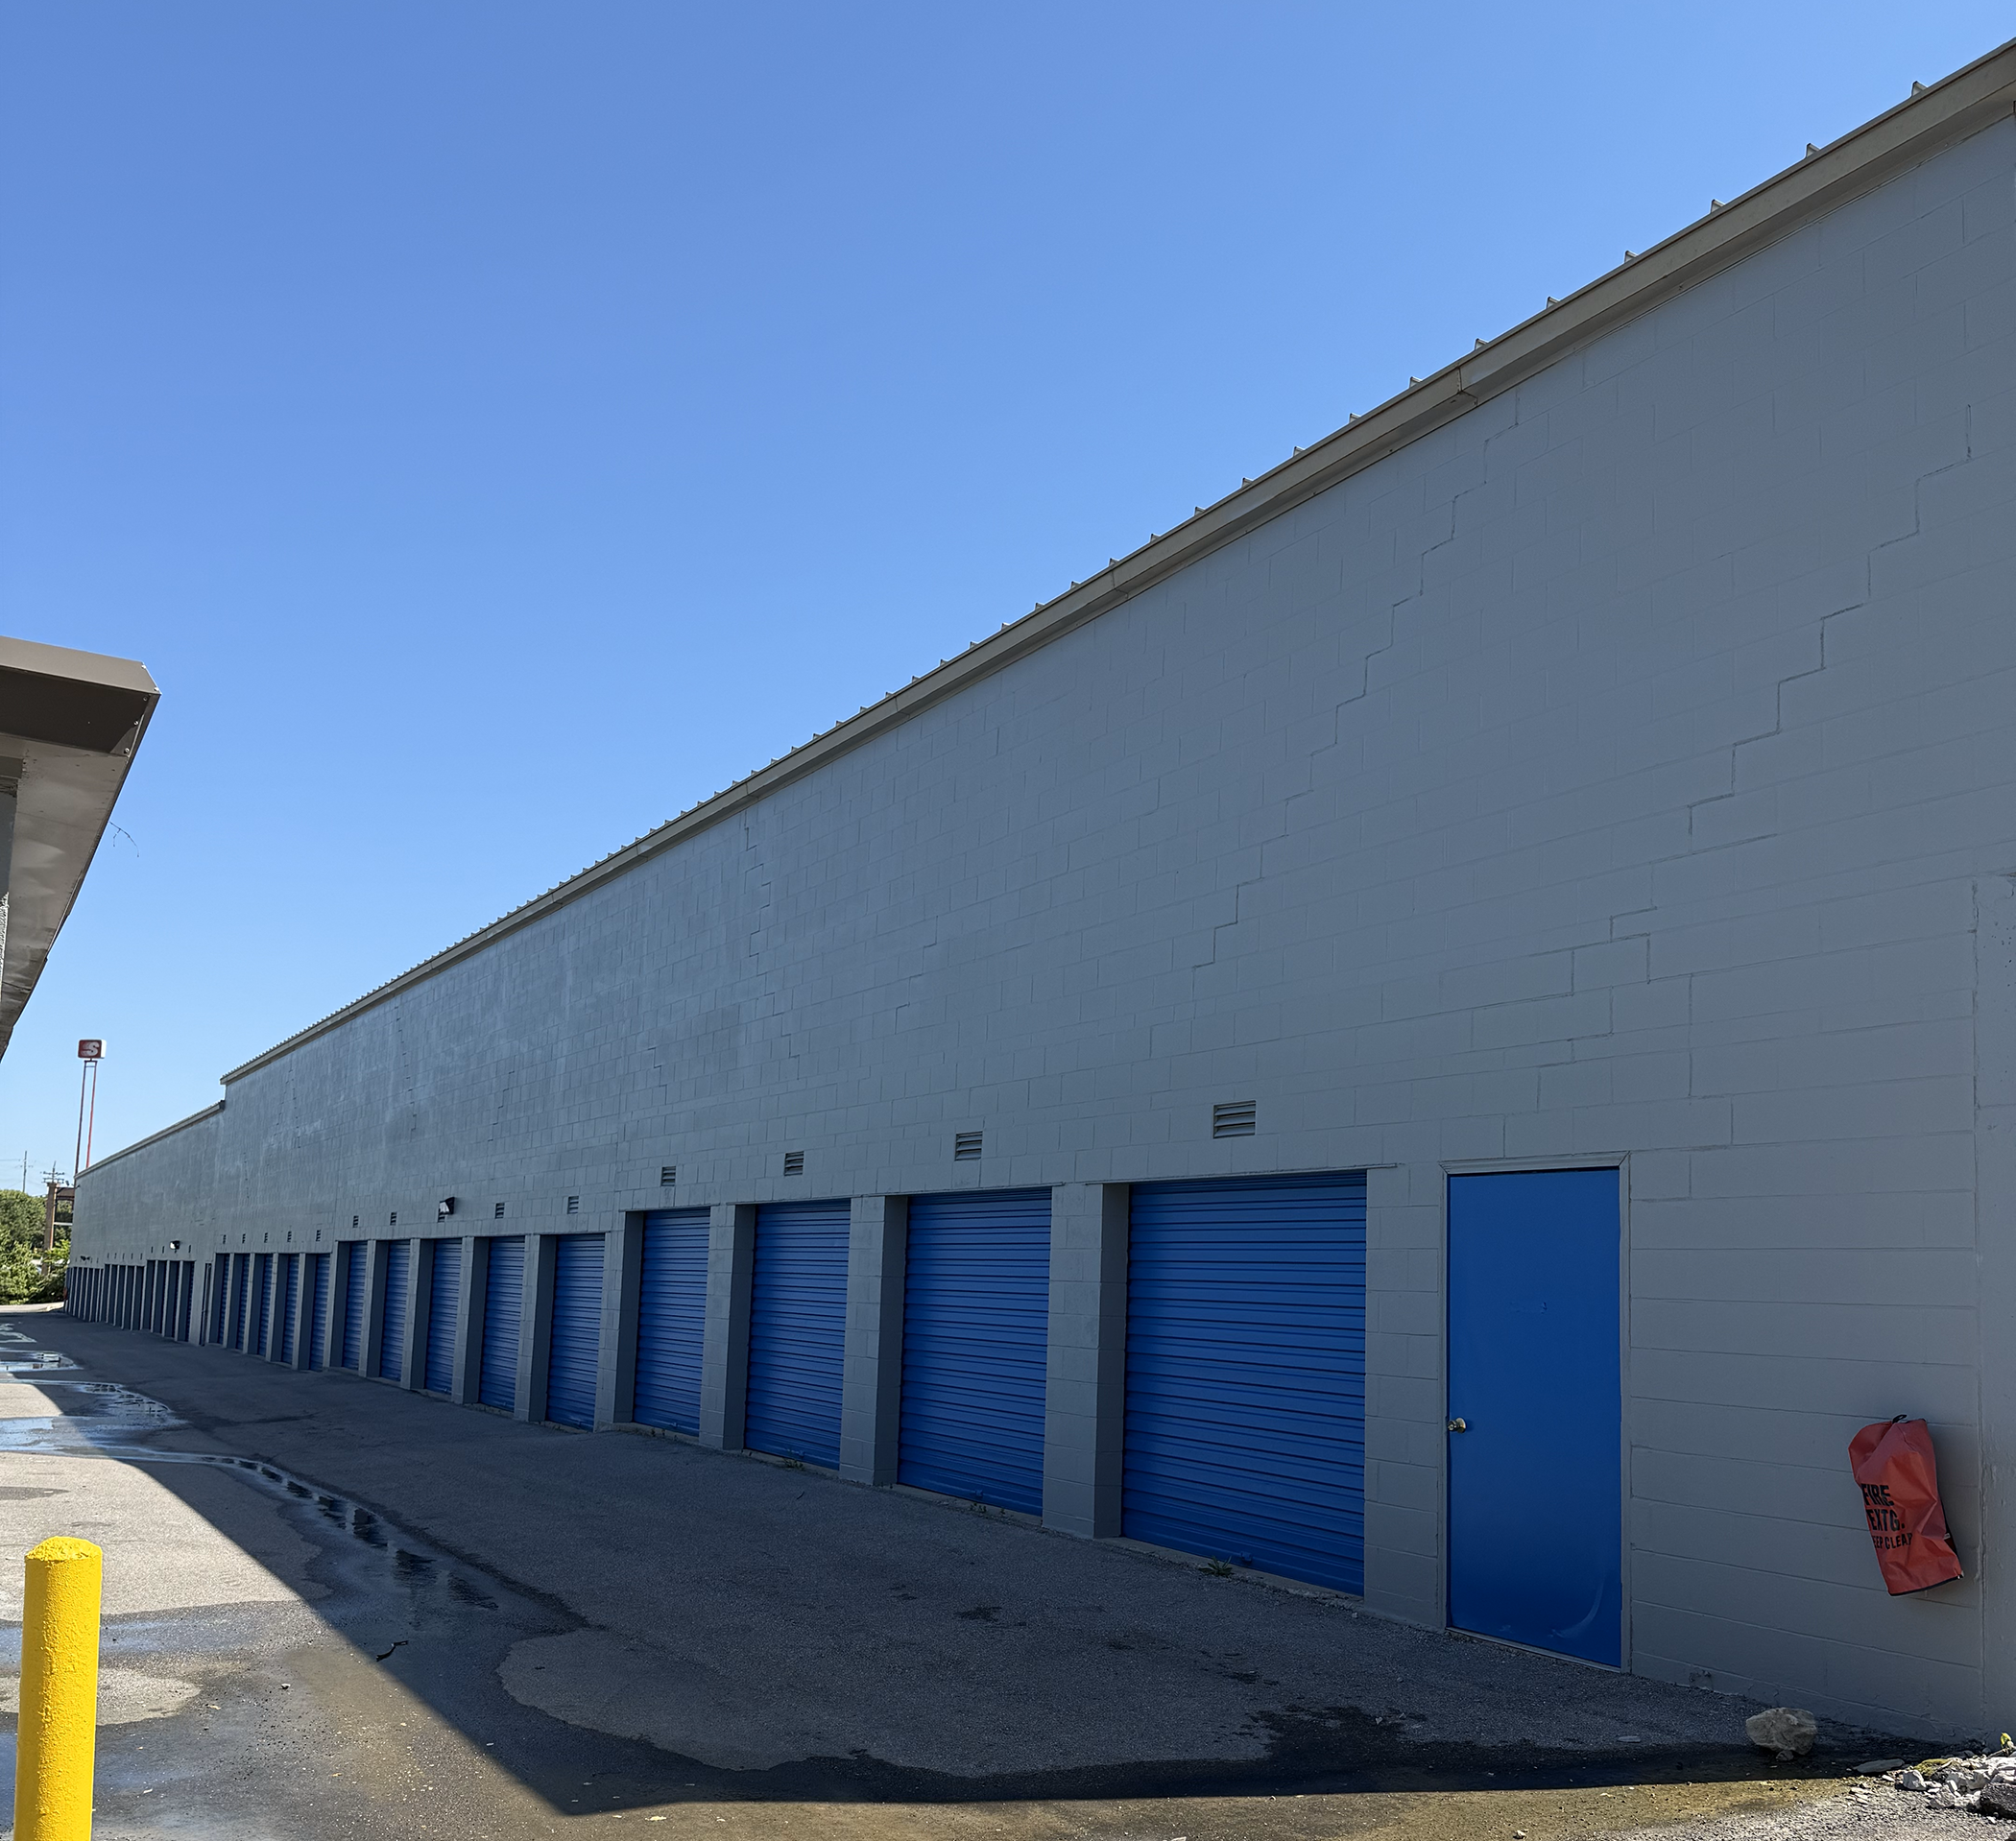
Choose a color that complements your facility’s design. Remember, a well-painted facility boosts curb appeal and can even attract more clients. This final layer is crucial for protecting the underlying surfaces from harsh weather conditions.
Roof Coatings and Waterproofing
Roof coatings extend roof life and enhance energy efficiency. Elastomeric roof coatings are popular for their reflective properties, reducing heat absorption. They’re also waterproof, preventing leaks.
Applying a roof coating requires a clean, dry surface. Use a roller or sprayer for even coverage. A second coat may be necessary for maximum protection. Ensure the coating is compatible with your roof material for the best results.
Planning and Budgeting Your Project
Proper planning can save you time and money. Let’s look at how to set a realistic timeline and budget for your painting project.
Timelines and Scheduling Tips
Timing is everything. Aim to paint during dry, mild weather. This helps the paint dry faster and prevents weather-related delays. Most projects take about a week, but it depends on the facility size.
Plan your schedule around these factors. Avoid peak summer or rainy seasons. A well-planned timeline ensures a smooth process and reduces the risk of rushing or cutting corners.
Estimating Costs and Budgeting
Creating a budget involves understanding material and labor costs. On average, painting can cost between $1 to $3 per square foot. Materials include paint, primers, tools, and any repair products.
Consider labor costs too. Hiring professionals might seem costly, but it ensures quality and saves time. For a detailed breakdown, check out this exterior paint preparation guide.
Requesting an Estimate and Warranties
Getting an estimate is a smart move. It gives you a clear picture of potential costs, helping you budget effectively. Most painting services offer free estimates. Use this opportunity to ask about warranties. A 3-year warranty is common, providing peace of mind for your investment.
When discussing with contractors, ensure they provide a detailed breakdown of services. This transparency helps avoid hidden costs. It’s also wise to verify their experience with storage facility painting. For inspiration and examples of completed projects, you might want to explore these project galleries.
By following these steps and tips, you’re on your way to a successful repaint project. Protect your investment and enhance your facility’s appearance today.